Measurements
To fit size: newborn (3 months: 6-9 months: 12 months)
Head circumference: 30 (34: 38: 42) cm, 12 (13½: 15: 16½) inches
Materials
Twilight double knitting
Shade: 991-7 pink glitter, 50 g
A pair of 4 mm (US 6) knitting needles
A pair of 4½ mm (US 7) knitting needles
Tension / Gauge
18 sts and 25 rows to 10 cm (4 inches)
measured over stockinette stitch using 4½ mm needles
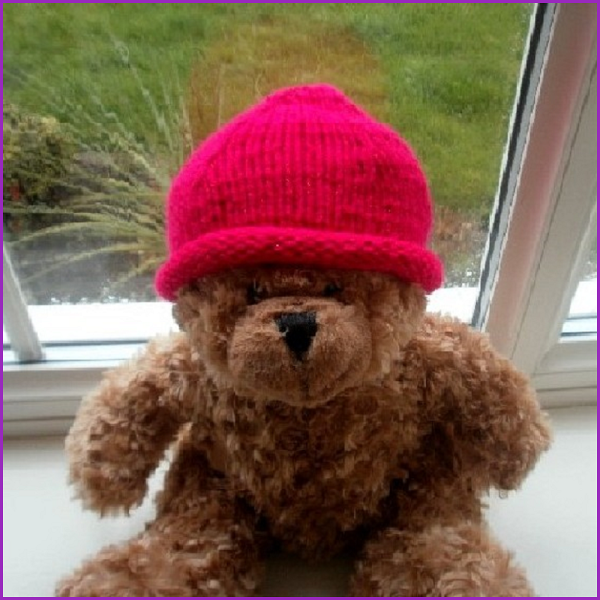
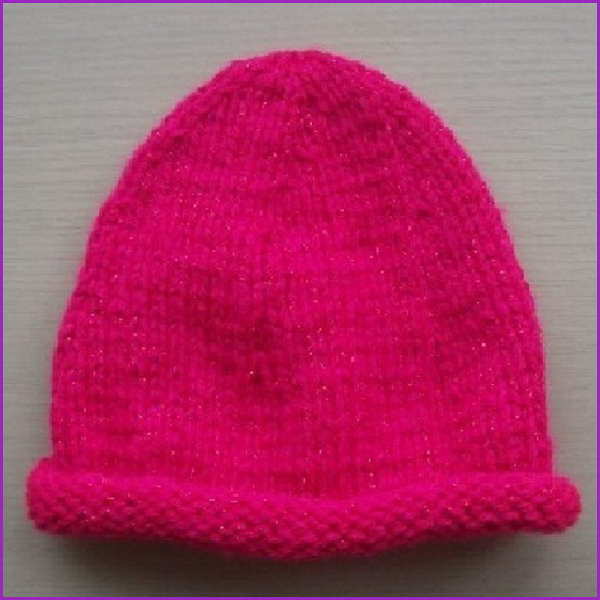
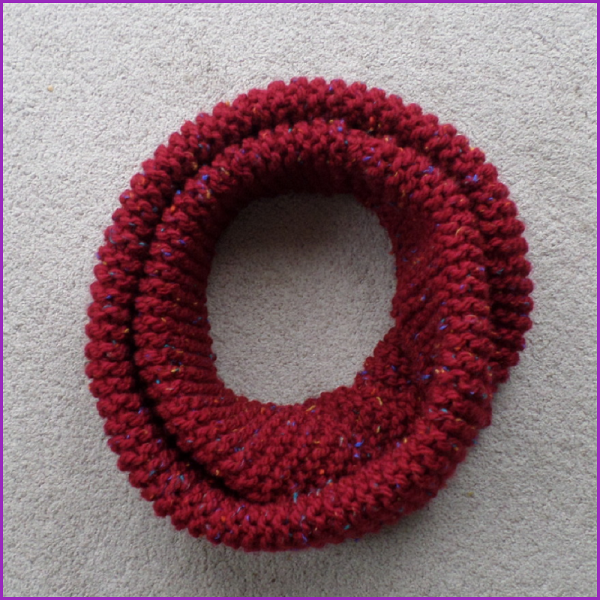
To knit hat
Using 4 mm (US 6) needles and yarn used double throughout,
cast on 54 (60: 68: 76) sts and work 4 rows in st.st.
Change to 4½ mm (US 7) needles and work 5½ (6¼: 7: 8) cm or 14 (16: 18 20) rows in st.st.
Shape Crown:
Now decrease as follows.
1st decrease row: * K8, k2tog; repeat from * to last 4 (0: 8: 0) sts, k4 (0: 8: 0). 49 (54: 62: 69) sts
Work 3 rows in stocking stitch.
2nd decrease row: * K7, k2tog; repeat from * to last 4 (0: 8: 4) sts, k4 (0: 8: 4). 44 (48: 56: 62) sts
Work 3 rows in stocking stitch.
3rd decrease row: * K6, k2tog; repeat from * to last 4 (0: 0: 4) sts, k4 (0: 0: 4). 39 (42: 49: 55) sts
Work 1 row in stocking stitch.
4th decrease row: * K5, k2tog; repeat from * to last 4 (0: 0: 4) sts, k4 (0: 0: 4). 34 (36: 42: 48) sts
Purl 1 row.
5th decrease row: * K4, k2tog; repeat from * to last 4 (0: 0: 4) sts, k4 (0: 0: 4). 29 (30: 35: 40) sts
Purl 1 row.
6th decrease row: * K3, k2tog; repeat from * to last 4 (0: 0: 4) sts, k4 (0: 0: 4). 24 (24: 28: 32) sts
Purl 1 row.
7th decrease row: * K2, k2tog; repeat from * to last 0 (0: 0: 4) sts, k0 (0: 0: 4). 18 (18: 21: 24) sts
Purl 1 row.
8th decrease row: K2tog across row to last to last 0 (0: 1: 4) sts, k0 (0: 1: 4). 9 (9: 11: 12) sts
Purl 1 row.
9th decrease row: K2tog across row to last to last 1 (1: 1: 4) sts, k1 (1: 1: 4). 5 (5: 6: 6) sts
Leave length of yarn and break yarn.
With the wrong side of the work facing you, thread yarn through the remaining stitches, pull up and sew to secure.
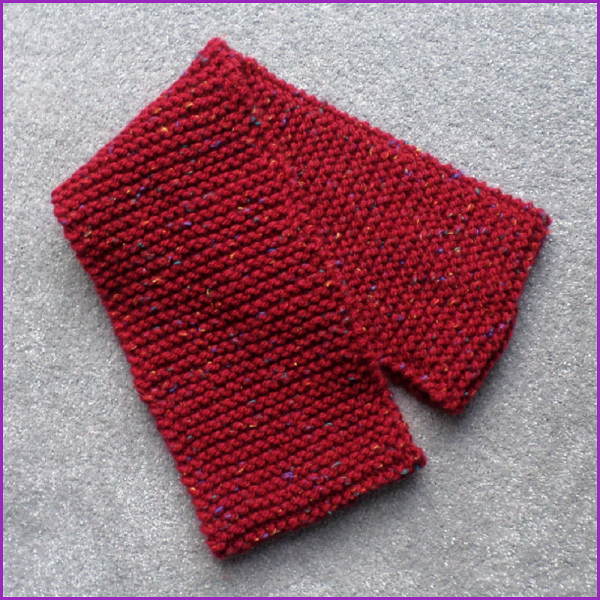
To make up / Finishing
Sew the back seam. Roll brim to required length and catch down at back to secure the brim into position. Weave in ends.

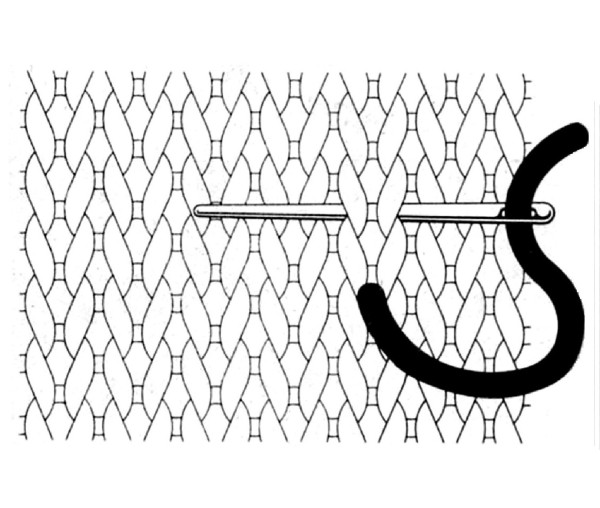
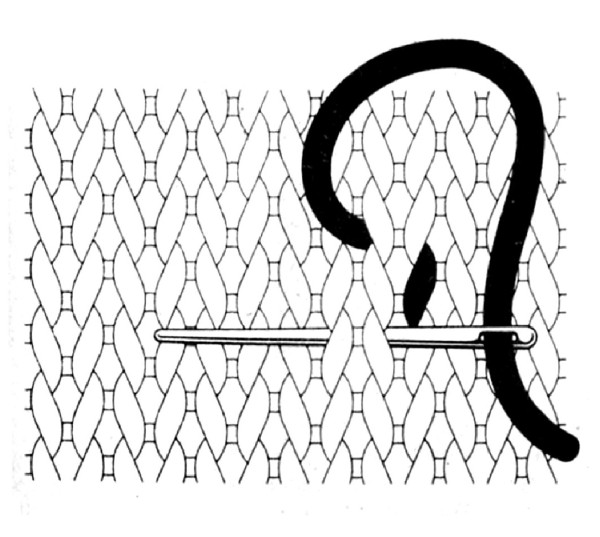
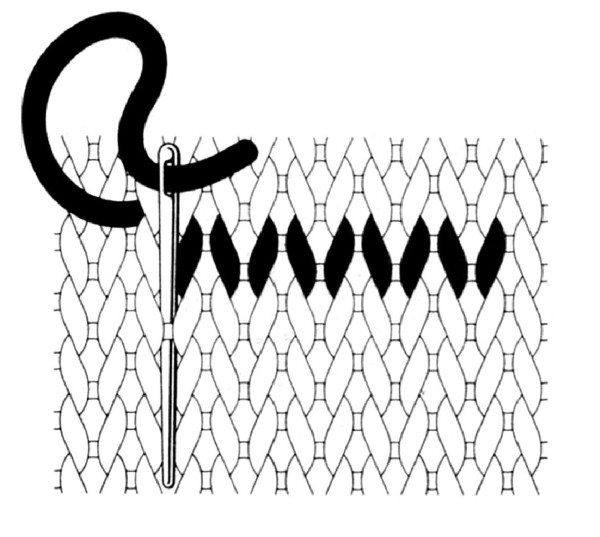
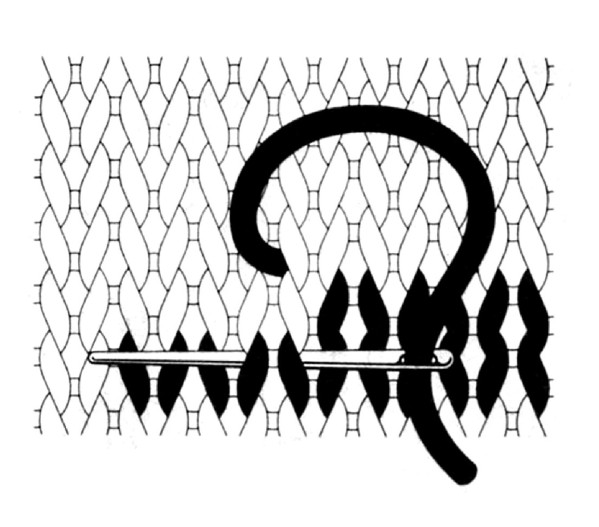
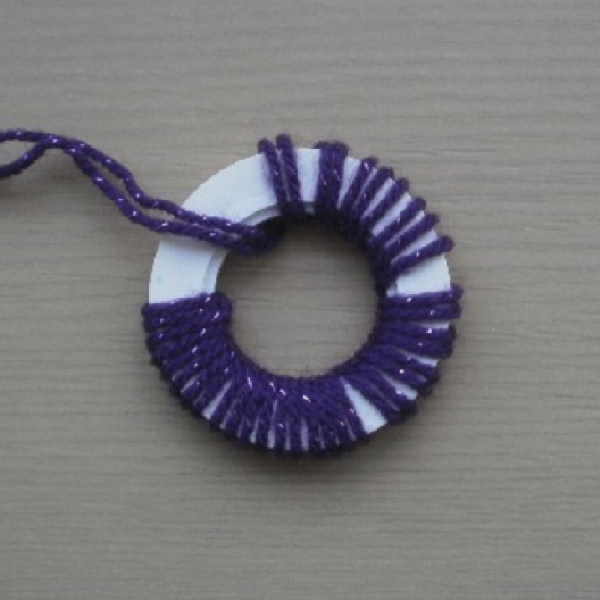
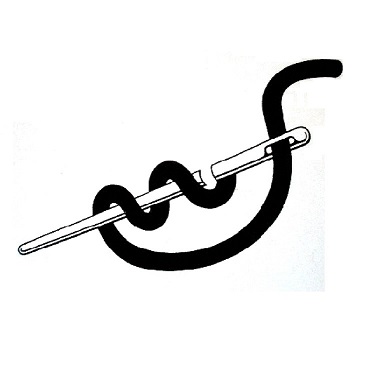
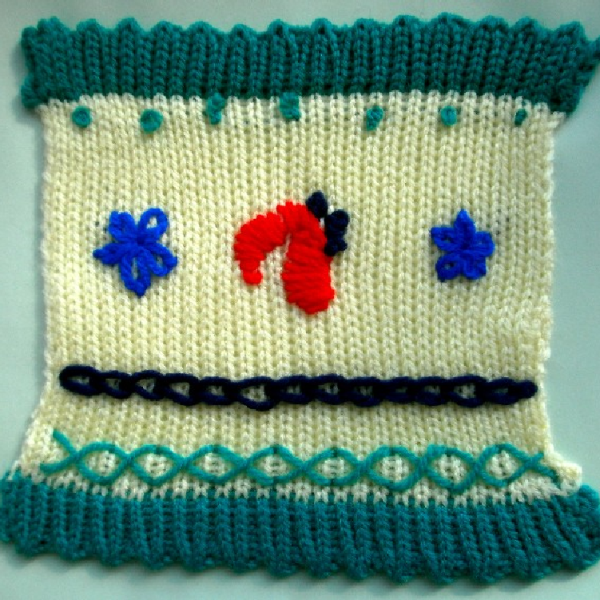 Chain Stitch
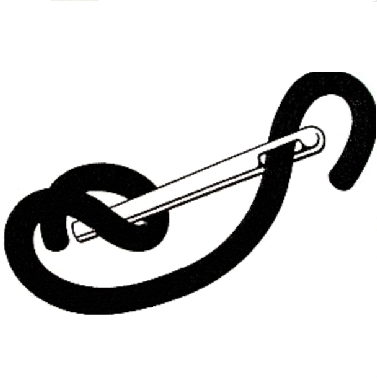


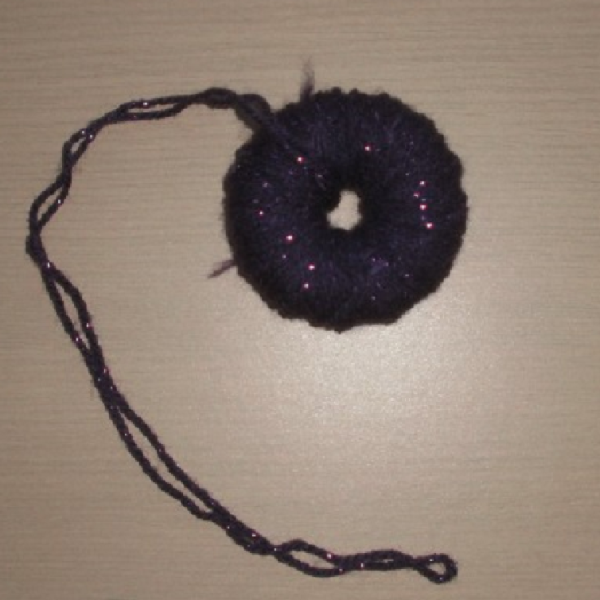
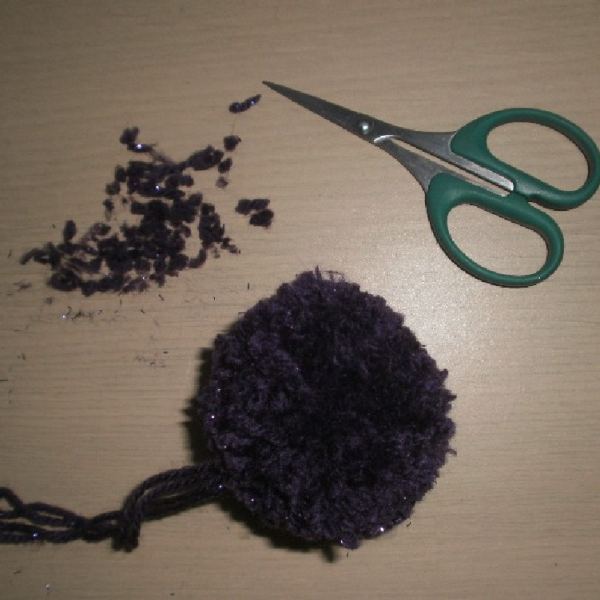
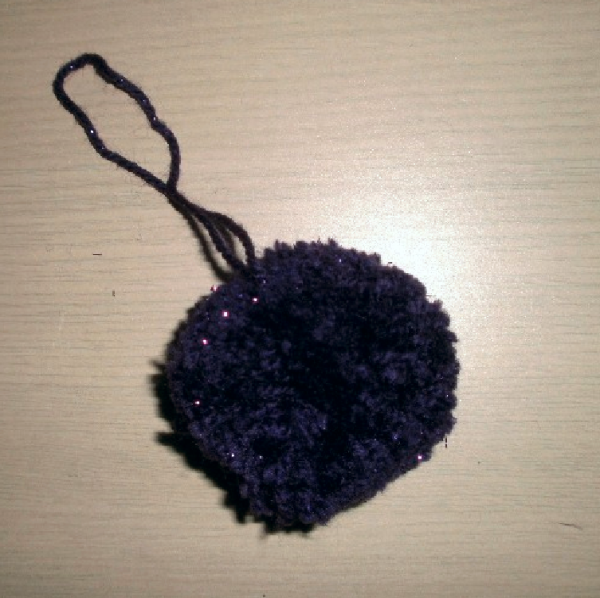 A pom-pom (also spelt pom-pon) is a loose, fluffy, decorative ball or tuft of fibrous material. Pom-pons may come in many colours, sizes, and varieties. Pom-pons are shaken by cheerleaders and sports fans during spectator sports. Pom-pon is derived from the French word pompon, which refers to a small decorative ball made of fabric or feathers.